This Wednesday we will have a session of putting our Science Fair boards together for presentation. So testing and writing the drafts of the results and conclusion need to be completed by Wednesday.
We will begin presenting our science fair investigations in class on Friday and complete presentations on Monday.
On Tuesday all boards go to the hall for the setting up. Judges will be in on Wednesday or Thursday and we should know on Friday our results.
Sunday, June 26, 2011
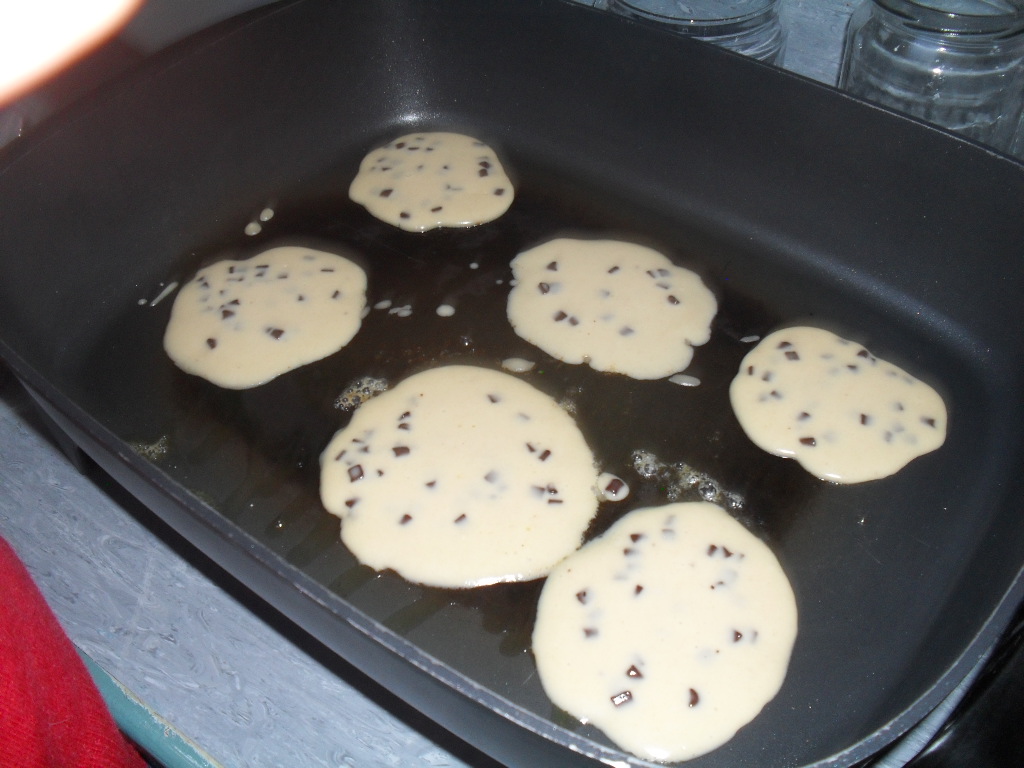
Making Pikelets
As one of the ways of practicing our procedural writing we looked at some pikelet recipes. We discussed and identified what was wrong with them then researched to make our own pikelet recipes. Then came the fun part: making the pikelets using our recipes.
Here are some of the recipes:
Ingredients:
1 cup of self raising flour
1 tablespoon castor sugar
1 egg
1 tablespoon butter, melted
1/2 cup milk, or as needed.
Method:
1. Sift the flour into a medium bowl, and stir in the sugar. Make a well in the centre, and add the egg. Stir with a wooden spoon while gradually pouring in the milk until you reach the consistency that you prefer. Thicker pikelets will need a thick batter, while thin pikelets will need a thin batter. Stir in melted butter last, beating until smooth.
2. Heat a skillet over a medium heat. Coat with cooking spray. Drop by large spoonfuls onto the hot skillet. Pikelets should be about 5 centimetres across. Flip when bubbles appear on the surface, and cook until browned on the other side.
By Vimukthi
Jaffa Pikelets
Ingredients:
1 egg
1/4 cup sugar
3/4 cup milk
1 cup flour
1 tsp baking powder
1/4 tsp salt
25 g melted butter (optional)
zest of whole orange (optional)
1/4 cup choc chips (optional)
Method:
1. In one bowl beat the egg and sugar until thick, in another bowl sift the flour, salt, baking powder.
2. Add the milk and beaten egg mixture into the sifted ingredients and mix to form a batter.
3. Mix in the choc chips and orange zest. (optional)
4. Lastly add the melted butter (optional), mix until smooth.
5. Heat a frying pan, when up to heat pour a spoonful of the batter, cook until golden brown on each side ( might not be golden brown on first go) continue until the batter has run out.
6. Now you have made a tasty snack for you and the kids!
By Ella


Monday, June 20, 2011
Hokey Pokey
On Friday we made hokey-pokey!
It was great fun, especially the anticipation of how it would turn out. We discussed the science between the chemical reaction and also used this as a motivation activity for our procedural writing. I think it worked! I have never seen written work happen so quickly and with such focus!
Here is the recipe we used:
HOKEY-POKEY:
Ingredients:
2 tablespoons golden syrup
4 tablespoons sugar
1 teaspoon baking soda
Method:
1. Grease a tray with butter.
2. Put the golden syrup and sugar into a saucepan together and stir over a low heat until the sugar has dissolved.
3. Once the mixture is bubbling, let it bubble away for 7 minutes (important,or it won't set nice and crunchy - gooey hokey-pokey isn't easy to eat.)
4. Take it off the heat, stir in the baking soda, and then (very speedily) spread it onto the greased tray.
5. Let it set - it should start to set immediately.

Monday, June 13, 2011
Science Fair - Conclusions:
This weeks focus:
1. To present your results in a graph or table (if suitable)
2. To write a conclusion
3. To purchase your science fair board - ready for week 8 and 9
We will have a go at creating graphs using Microsoft excel.
HOW TO WRITE A CONCLUSION...
The conclusion, plain and simple,is the answer to your question. It should be clear, concise and stick to the point.
Step 1:
Summarize your science fair project results in a few sentences and use this summary to support your conclusion. Include key facts from your background research to help explain your results as needed.
Step 2:
State whether your results support or contradict your hypothesis.
Summarize and evaluate your experimental procedure, making comments about its success and effectiveness.
Suggest changes in the experimental procedure (or design) and/or possibilities for further study.
(For more information refer to your homework sheet for this week in your Science Fair folder)
Thursday, June 9, 2011
Orokonui reminders for Monday's trip
Orokonui Eco Sanctuary Reminders
• Wear correct PE gear to school
• A jacket. If it is wet we will still be going. Unless it is really really wet.
• Bring a named digital camera (or disposable) – this is our whole focus for going
• Bring a decent lunch and water
• Bring a towel so you can lie on the ground to get the interesting photo shots
• If you haven’t paid, please pay the $16
Monday, June 6, 2011
Science Fair - week 6
Science Fair – Week 6
This week’s focus: to continue testing for your investigation.
Remember:
• To observe and record the changes made through your testing.
• Measure the changes made through your testing.
• Record your results using tables and graphs.
• Fair testing
o Which variables have you kept the same?
o Which one variable have you changed? Why?
o Have you repeated the test 3 times to observe the same/similar results?
Important: take notes of what you observe.
Take photos of what your experiment/investigation. (Re-read last week’s sheet for tips on taking good photos.)
Put all this information, even notes, into your ASPIRE/Science Fair folder.
Review your research. Are you understanding the science behind your investigation?
Over the next couple of weeks we will look at how to make graphs using excel. This may help you with graphing your results for your presentation.
Wednesday, June 1, 2011
Science Fair update:
The next couple of weeks of Science Fair is making sure your method has been signed off by me then start your testing.
What to do:
1. Collect all the equipment you need.
2. Follow your method.
3. Record observations and results in your Science Fair folder.
Reminders:
Keep each test fair - test one variable and keep everything else the same.
Take photos as you go. Good shots could include:
* photos of equipment.
* photos of each (or important) steps in your method.
* photos that show the results of your tests.
Mega Math Month:
We started the month of May with our Mega Math Month where we focused on our time table knowledge. We wanted to improve both our accuracy and speed of our time tables. This year the focus also included knowing the division as well as the multiplication. This made it slightly more challenging!
Our class average for our baseline test was 44%. This definitely allowed us a lot of room for improvement!
Week 1's average then increased to 54% - which was a great improvement in less than one week.
Week 2's average increased to 64% - which again we were all thrilled about - a good steady improvement.
Week 3's average - mmmm.... well, that wasn't as good. We dropped from 64% to 58%. There were a few disappointed faces in Room 3, mine included!
The final week was a big week on practicing our time tables.
Week 4's average was 76%. We were all thrilled! Yay! The hard work had paid off.
Week 4 - Student Report
This week we had a big push on time tables, due to last weeks disappointing results. Our class average went down from 64% to 58%. Mrs Garthwaite was over the moon when we got our average up to 76%. Great work Room 3!
Samuel.
On Friday we finished our Nigel Brown art. It took a long time, but it was worth it. They look great!
It was also the last week of MEGA MATH MONTH. Our class average went up by heaps!
Georgia
Samuel.
On Friday we finished our Nigel Brown art. It took a long time, but it was worth it. They look great!
It was also the last week of MEGA MATH MONTH. Our class average went up by heaps!
Georgia
Subscribe to:
Posts (Atom)